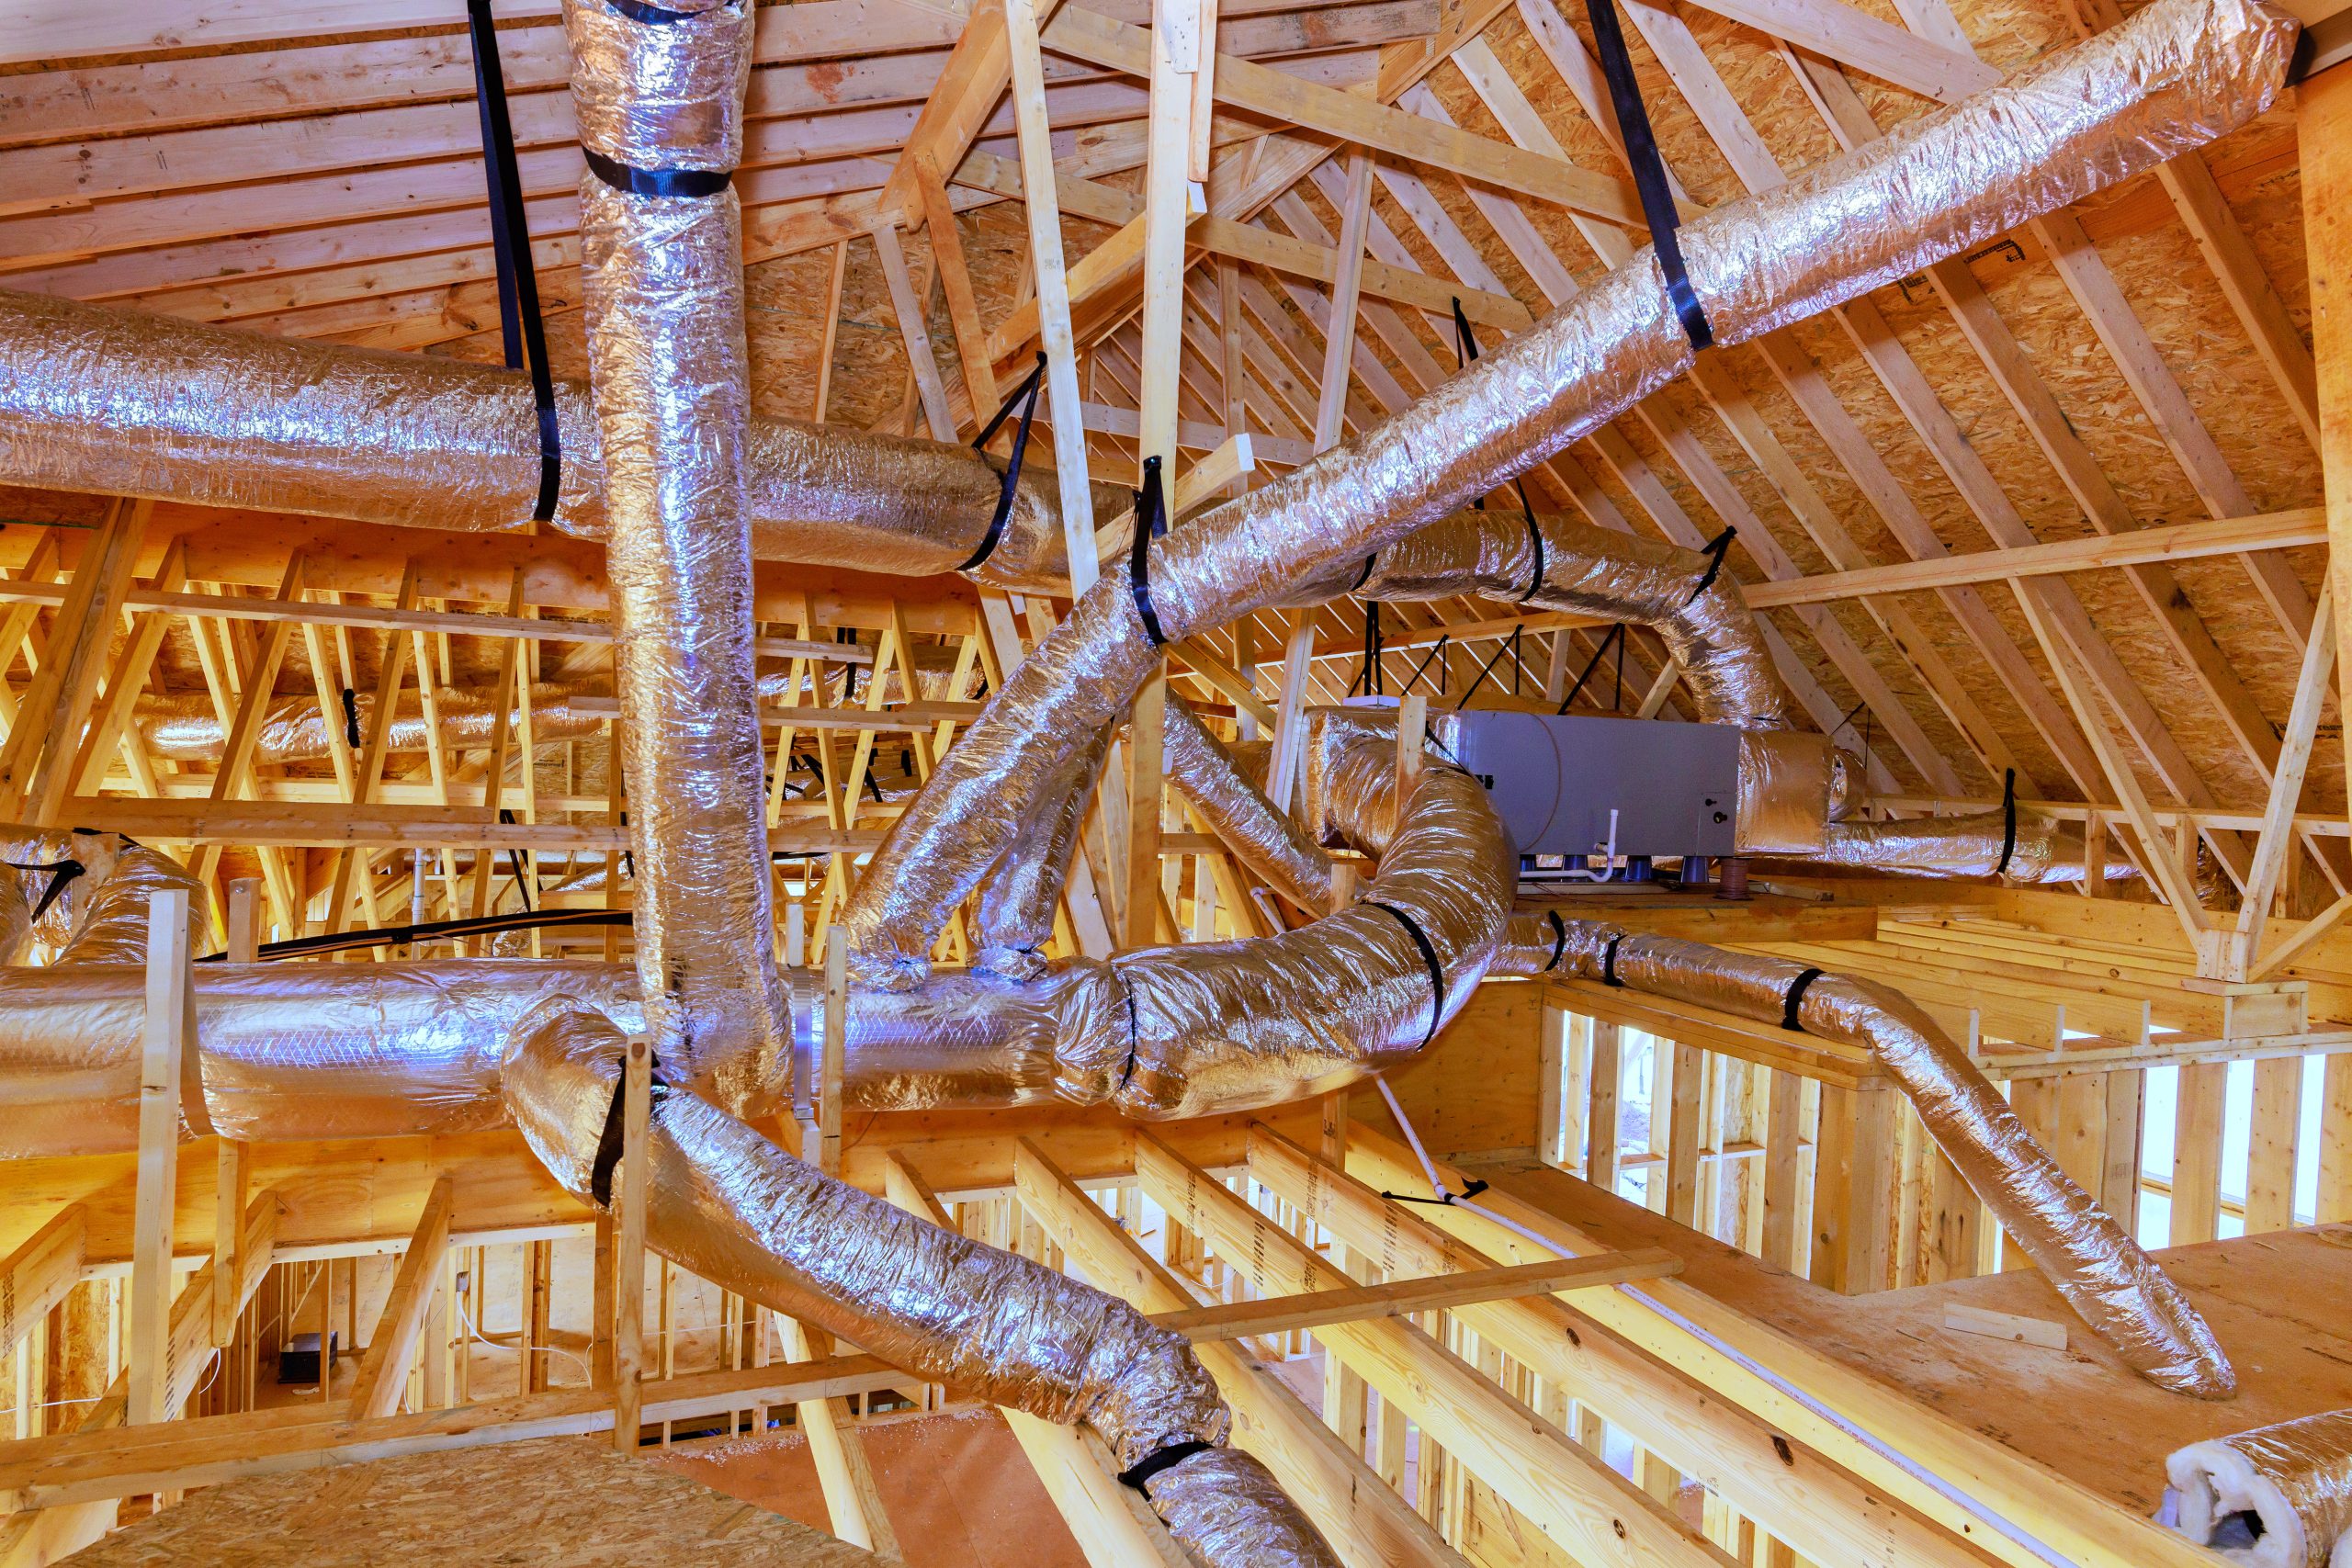
Your air conditioner and furnace get all the attention, but the ductwork hidden in your attic, walls, and crawl space is what actually delivers comfort to every room. When that duct system is leaking, poorly sized, badly routed, or simply never designed for the way you live in your home today, even a brand-new HVAC system can’t keep up. Rooms stay hot in summer and cold in winter, energy bills climb, and the system runs constantly without ever feeling comfortable.
Residential air duct modification is the process of correcting those problems — sealing, resizing, rerouting, adding, or rebalancing your ducts so conditioned air reaches every room the way it should. This page explains what duct modification involves, the signs your home needs it, what it typically costs, and what to expect when you work with an experienced local team. If you live in the Arizona heat, where a duct system either makes or breaks your summer comfort, understanding this work is one of the most valuable things you can do as a homeowner.
Air duct modification refers to any change made to your home’s existing duct system to improve airflow, comfort, efficiency, or air quality. It sits between two other services people often confuse it with. It is more involved than simple duct repair, which just patches a hole or reconnects a fitting, but it is usually far less invasive and less expensive than a full duct replacement, where the entire system is torn out and rebuilt.
Think of your ducts as the circulatory system of your home. The HVAC unit is the heart, but the ducts are the veins and arteries that carry conditioned air everywhere it needs to go. If one of those pathways is blocked, leaking, kinked, or too narrow, the whole system suffers, and so do you. Modification is the targeted correction of those specific weak points rather than a wholesale rebuild, which is why it so often delivers the biggest comfort improvement for the least money.
Because every home is different, duct modification is rarely one single task. A typical residential project might combine several of the improvements described below, chosen after an inspection reveals exactly where your system is losing performance. In many Arizona homes, that means sealing leaky attic runs, adding a return where the system can’t breathe, and rebalancing air toward the rooms that bake in the afternoon sun.
Duct sealing. Gaps, cracks, and disconnected joints allow expensive conditioned air to escape into attics and crawl spaces before it ever reaches your rooms. Sealing these leaks with mastic or specialized sealant is one of the highest-return modifications, because you keep paying to cool air you never feel. Sealing at the plenum, at register boots, and around recessed lighting penetrations is especially valuable in hot climates where attic temperatures can soar well past 130 degrees.
Duct resizing and redesign. Ducts that are too small choke airflow, while ducts that are too large can leave a system unable to control humidity and temperature evenly. Resizing individual runs, replacing an undersized return-air drop, or redesigning an inefficient layout brings the duct system back into balance with the capacity of your HVAC equipment. An oversized “octopus” of tangled runs from an older gravity-furnace era often needs this kind of rework.
Adding supply vents or return-air lines. When a bonus room, converted garage, home addition, or back bedroom never gets enough air, adding a new supply run or a dedicated return line is often the fix. This is one of the most common residential requests, and it directly solves the “one room is always uncomfortable” complaint. Inadequate return air, in particular, quietly cripples many systems by preventing them from pulling enough air back to condition.
Rerouting and correcting poor installation. Ductwork that twists unnecessarily, sags, or is crushed in a tight space restricts airflow. Straightening, rerouting, or re-supporting these runs restores the smooth path air needs to travel efficiently. Something as simple as a kinked flex duct behind a knee wall can be the reason an entire room feels stuffy.
Zoning and airflow balancing. Installing dampers lets you direct more air to the rooms that need it and less to the rooms that don’t, sometimes divided into independently controlled zones. Balancing dampers also even out the whole system so no single room is starved or over-served. Zoning is a particularly good match for two-story homes where the upstairs runs hot.
Plenum, boot, and register modifications. The plenum connects your equipment to the duct trunk, and duct boots connect runs to the vents in your floors and ceilings. Replacing an undersized plenum or repairing damaged boots — common in older homes — can quietly resolve airflow and pressure problems that no thermostat adjustment ever will.
Duct insulation. Ducts running through unconditioned attics or crawl spaces gain heat in summer and lose it in winter. Adding insulation to these runs protects the air inside them and is frequently bundled with sealing for maximum effect. In desert climates, insulating attic ductwork is one of the single most impactful upgrades you can make.
Most homeowners don’t go looking for “duct modification” — they go looking for a solution to a frustrating comfort or cost problem. If any of the following sound familiar, your ductwork is a likely culprit.
You have a room, or several rooms, that are always noticeably hotter or colder than the rest of the house. These hot and cold spots almost always point to leaks, imbalance, or improper sizing rather than a failing air conditioner. Along the same lines, you may notice weak or nonexistent airflow from certain vents even when the system is running hard — a classic sign that a run is undersized, crushed, disconnected, or that the room needs an added supply or return.
Rising energy bills without a change in your habits are another strong indicator, because leaky and poorly routed ducts force your equipment to run longer to reach the same temperature. In hot climates especially, many homeowners discover their summer bills were being driven up by cooled air escaping into the attic. Strange noises are also telling: rattling and banging usually mean loose ductwork, while whistling typically signals air escaping through leaks and holes.
Other warning signs include excessive dust throughout the home, which can enter through duct gaps and bypass your filter; a home that feels drafty or stuffy due to air-pressure imbalances; and ductwork that is simply old. If your ducts were installed more than fifteen to twenty years ago, or if you’ve recently added a room, replaced windows, or upgraded to a more powerful HVAC system, there’s a good chance the existing ducts no longer match your home’s needs. Homeowners frequently find that a new, more efficient system doesn’t perform as promised precisely because the old ductwork was never adjusted to fit it.
You can invest in the most advanced, high-efficiency HVAC system on the market, but if the ductwork feeding it is compromised, you’ll never see the comfort or savings you paid for. Trying to run a powerful system through inadequate ducts is like taking deep breaths through a narrow straw — the effort is there, but the result isn’t.
Properly modified ductwork delivers even temperatures across every room and floor, thorough humidity control, quieter operation, cleaner indoor air, lower energy bills, and a longer equipment lifespan because the system no longer has to strain. In real homes, the difference shows up as rooms that were once unusable in summer becoming comfortable, and a house temperature that finally feels stable throughout the day rather than swinging from room to room.
Because duct modification ranges from a quick sealing job to adding entire new runs, costs vary widely. The table below reflects common residential projects and is meant as general guidance; your actual price depends on your home’s size, duct material, accessibility, and the extent of work needed. Always get an in-home assessment for an accurate quote.
| Duct Modification Project | Typical Cost Range | Notes |
| Minor duct repair or spot sealing | $150 – $500 | Small leaks, holes, or joint fixes |
| Adding a supply or return vent | $450 – $ 950 per vent | Depends on accessibility and duct type |
| Return-air drop replacement | $300 – $650 | Common when a new system needs more return air |
| Adding or modifying an individual duct run | $300 – $1,200 per run | Wider range if routing through walls or floors |
| Plenum replacement | $400 – $1,200 | Damaged plenums reduce efficiency |
| Register or duct boot replacement | $50 – $250 each | Improves airflow and fit |
| Zoning system with dampers | $2,000 – $3,500+ | Independent control of multiple areas |
| Whole-home duct overhaul | $5,000 – $15,000 | For larger homes or full redesigns |
Several factors drive these numbers. Duct material matters, since sheet-metal ductwork tends to cost more than flexible duct but offers smoother interior airflow and greater durability. Home size and layout affect the total linear footage required. Accessibility is often the single biggest labor variable — running or repairing ducts in a tight, superheated attic or a low crawl space costs more than working in an open basement. And the number of vents, registers, and connections involved adds to both materials and labor.
A practical way to save is to bundle duct modification with a planned HVAC replacement so you’re only paying for access and labor once, and to seal and correct existing ducts before assuming you need a full replacement. Getting more than one quote is smart too — homeowners regularly find enormous price differences between contractors for the very same scope of work. In one real case, a homeowner received a competing quote nearly ten times higher than the winning bid, and it didn’t even include the duct replacement they actually needed.
Arizona homeowners have an extra advantage here: utility energy-efficiency programs, such as those offered by SRP and APS, frequently provide rebates for duct sealing, insulation, and related improvements. A contractor already vetted and participating in these programs can help you capture those savings, which meaningfully lowers your net cost.
The material used in your modification affects airflow, durability, and price, so it’s worth understanding the main options.
Sheet-metal (rigid) ducts are smooth on the inside, which promotes efficient airflow, and they’re highly durable, often lasting decades. They cost more and take longer to install, but for main trunk lines and long runs they’re the gold standard, and many contractors recommend them wherever practical.
Flexible ducts, or “flex,” are insulated tubes that install quickly and work well in tight or awkward spaces. Their ridged interior creates more airflow resistance than smooth metal, and they’re prone to kinks and sagging if installed carelessly, which can quietly choke a room over time. Well-installed flex duct is perfectly acceptable, especially for shorter branch runs, but installation quality matters enormously.
Fiberboard ducts are made from compressed fiberglass and come with built-in insulation, making them a budget-friendly, insulated option. They can restrict airflow somewhat and are more prone to interior wear, so they’re less ideal for high-airflow applications.
For most Arizona homes, a mix works best: durable metal for the main trunk and returns, with insulated flex for branch runs — all properly sealed and supported so no run sags or kinks.
Ductwork problems that would be a minor annoyance in a mild climate become genuine comfort and cost emergencies in the desert. During a Mesa or Phoenix summer, your attic can exceed 130 degrees, and every leak, gap, or uninsulated run in that attic is bleeding your expensive cooled air into that oven — and pulling superheated attic air into your system through the return side. This is why duct sealing and duct insulation deliver such dramatic results in Arizona specifically; you’re not just improving efficiency, you’re stopping a constant, invisible drain on your air conditioner during the exact months it’s working hardest.
Homes across the Valley — from older Mesa neighborhoods to newer builds in Gilbert, Chandler, and Queen Creek — commonly have ductwork routed through blazing attics with inadequate insulation and years of accumulated leaks. Adding a return line to a room that never cools, sealing the plenum and register boots, and insulating attic runs before the summer spike arrives are among the most requested and most impactful modifications in this region. Timing the work for spring, ahead of peak cooling season, lets you feel the benefit immediately when the heat sets in.
A good duct modification project starts with a thorough inspection, not a sales pitch. A technician should physically get into the attic or crawl space, take photos and video of what they find, and then sit down with you to explain the actual problems in plain language. From there you should receive a detailed, itemized proposal and a clear work schedule, ideally in a single visit so you’re not left waiting and wondering. The best consultations feel consultative rather than pushy — the technician asks what you’re experiencing and what you want to fix before recommending anything.
On the day of the work, an experienced crew handles the modifications — sealing leaks, resizing or rerouting runs, adding vents or returns, insulating, and balancing airflow as your plan requires. Most residential projects are completed in a single day, often finishing by early afternoon, though larger jobs that involve extensive rework or are combined with old-insulation removal and other services can take two to three days. Throughout, the team should keep you informed, answer your questions, and clean up thoroughly when they’re done.
Because duct modification directly affects your HVAC system’s pressure and performance, this is not a do-it-yourself project. Accurate sizing, proper sealing, and code-compliant work require specialized tools and training, and mistakes can quietly cost you comfort and money for years. Look for a contractor who is licensed and insured, certified to test air-duct leakage, and — where available — vetted by your local utility’s energy-efficiency and rebate programs, which can offset part of your cost and serve as an independent stamp of trust.
The value of duct modification is easiest to understand through the homeowners who’ve lived it. One customer had a room that simply couldn’t be conditioned properly; rather than an expensive full replacement, the solution was adding an entirely new duct supply and return line to that room, sealing some ducts and replacing others — at a fraction of a competitor’s quote that hadn’t even included the duct work. Another homeowner focused on sealing every gap at the plenum, recessed lights, and rooftop return before summer arrived, specifically to get control over rising energy costs, and reported feeling confident heading into the hot season. A third simply said that after sealing his air ducts and improving insulation, his home’s temperature finally felt stable.
The common thread is that these weren’t people shopping for “ductwork” — they were solving a hot bedroom, a high electric bill, or a house that never felt even. Many also mentioned how much it mattered to work with a crew that showed up on time, explained the process patiently, and never stopped answering questions. That’s exactly what residential duct modification, done well, is designed to deliver.
Plenum – The central box that connects your HVAC equipment to the main duct trunk, distributing air into the supply ducts and collecting it from the returns.
Duct boot – The sheet-metal fitting, rectangular on one end and round on the other, that connects a duct run to the vent register in your floor, wall, or ceiling.
Supply duct – The ducts that carry conditioned air from your system out to each room.
Return duct – The ducts that pull air back to the system to be reheated or recooled; inadequate return air is a common hidden cause of poor performance.
Static pressure – The resistance air meets as it moves through your duct system; too much static pressure strains the equipment and reduces airflow.
CFM (cubic feet per minute) – The standard measure of airflow volume; each room needs a target CFM to be comfortable.
Manual J – The industry-standard calculation of a home’s heating and cooling load.
Manual D – The industry-standard calculation for correctly sizing the duct system to match that load.
Zoning – Dividing a home into separately controlled areas using dampers, so each zone gets the air it needs.
What’s the difference between duct modification and duct replacement? Modification corrects specific problems in your existing system — sealing leaks, resizing a run, adding a vent, rerouting a poorly installed section. Replacement removes and rebuilds the entire duct system. Modification is usually the more affordable, less invasive option and is often all a home actually needs.
Can duct modification fix one room that’s always too hot or too cold? Yes. Uneven rooms are one of the most common reasons homeowners request modification. Depending on the cause, the fix may be sealing leaks, resizing a duct, adding a supply or return vent, or installing balancing dampers to redirect airflow.
Will modifying my ducts lower my energy bills? Frequently, yes. Sealing leaks and correcting poor airflow means your system reaches the target temperature faster and runs less, which reduces energy use. Homeowners in hot climates like Arizona often see the biggest difference because so much cooled air is otherwise lost into a scorching attic.
How do I add a vent to existing ductwork? A technician taps into a nearby duct run or trunk, installs a new branch run and boot to the desired location, and cuts in a register — then rebalances the system so the new vent doesn’t starve other rooms. Because it changes system pressure, it should be done by a professional rather than as a DIY project.
What is the “2-foot rule” for ductwork? It’s a general guideline that duct runs should stay within about two feet of walls or ceiling drops to minimize airflow resistance, reduce energy loss, and simplify installation. It’s a rule of thumb, not a substitute for a proper Manual D calculation.
Do I need duct modification if I’m getting a new HVAC system? Often. A more powerful, efficient system won’t perform as promised if the existing ducts are undersized, leaky, or poorly designed for it. Having your ductwork evaluated at the same time helps you get the full benefit of your new equipment and is usually cheaper when bundled.
Are duct improvements eligible for utility rebates in Arizona? Many are. Utilities such as SRP and APS frequently offer rebates for duct sealing and insulation as part of their energy-efficiency programs. A participating contractor can tell you what your project qualifies for and help with the paperwork.
Can I modify ductwork myself? It’s not recommended. Duct changes affect your system’s air pressure and performance, and proper sizing and sealing require specialized knowledge and tools. Improper DIY work can create new comfort and efficiency problems that cost more to fix later.
How long does a duct modification project take? Most residential projects are completed in a single day. Larger jobs, or those bundled with insulation removal and other services, may take two to three days.
If you’re tired of hot and cold rooms, weak vents, mysterious noises, or summer energy bills that keep climbing, your ductwork is worth a closer look. Schedule a free, no-pressure home assessment and get a clear, itemized plan for making every room in your home comfortable — before the next Arizona summer arrives. Book your free assessment or call today to speak with a specialist.

About the Author — Nick Smith
Nick Smith is the Founder and CEO of Thermo S Insulation, a Phoenix-metro home energy company based in Mesa, Arizona, specializing in air duct sealing, attic insulation, and whole-home energy efficiency. With a background in business development and operations management and an education from Gateway Community College, Nick built Thermo S Insulation into one of Arizona’s top-rated insulation and duct-sealing providers, earning a 4.9-star reputation across hundreds of homeowner reviews. His teams are known for honest, transparent pricing, meticulous before-and-after documentation, and helping Valley homeowners lower their summer energy bills while improving comfort and indoor air quality. Nick and his crews are BPI-certified and A+ rated by the Better Business Bureau.





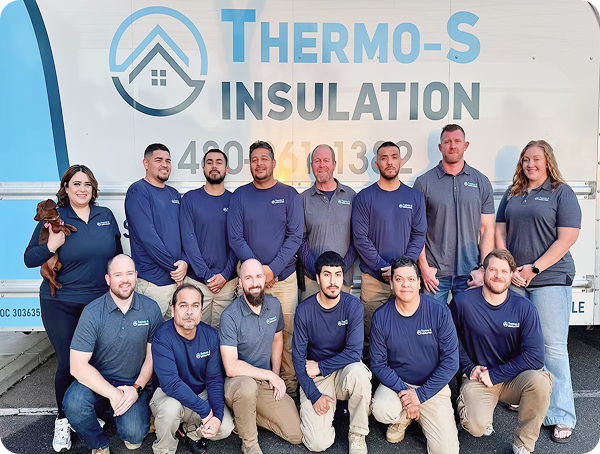
We promise to exceed your expectations by prioritizing exceptional customer service and building lasting relationships. Our commitment to quality workmanship, cleanliness, and comprehensive warranties sets us apart. Your satisfaction is our top priority!

Your home could qualify for significant energy savings through our test and repair program. The sooner you check, the sooner you start saving.